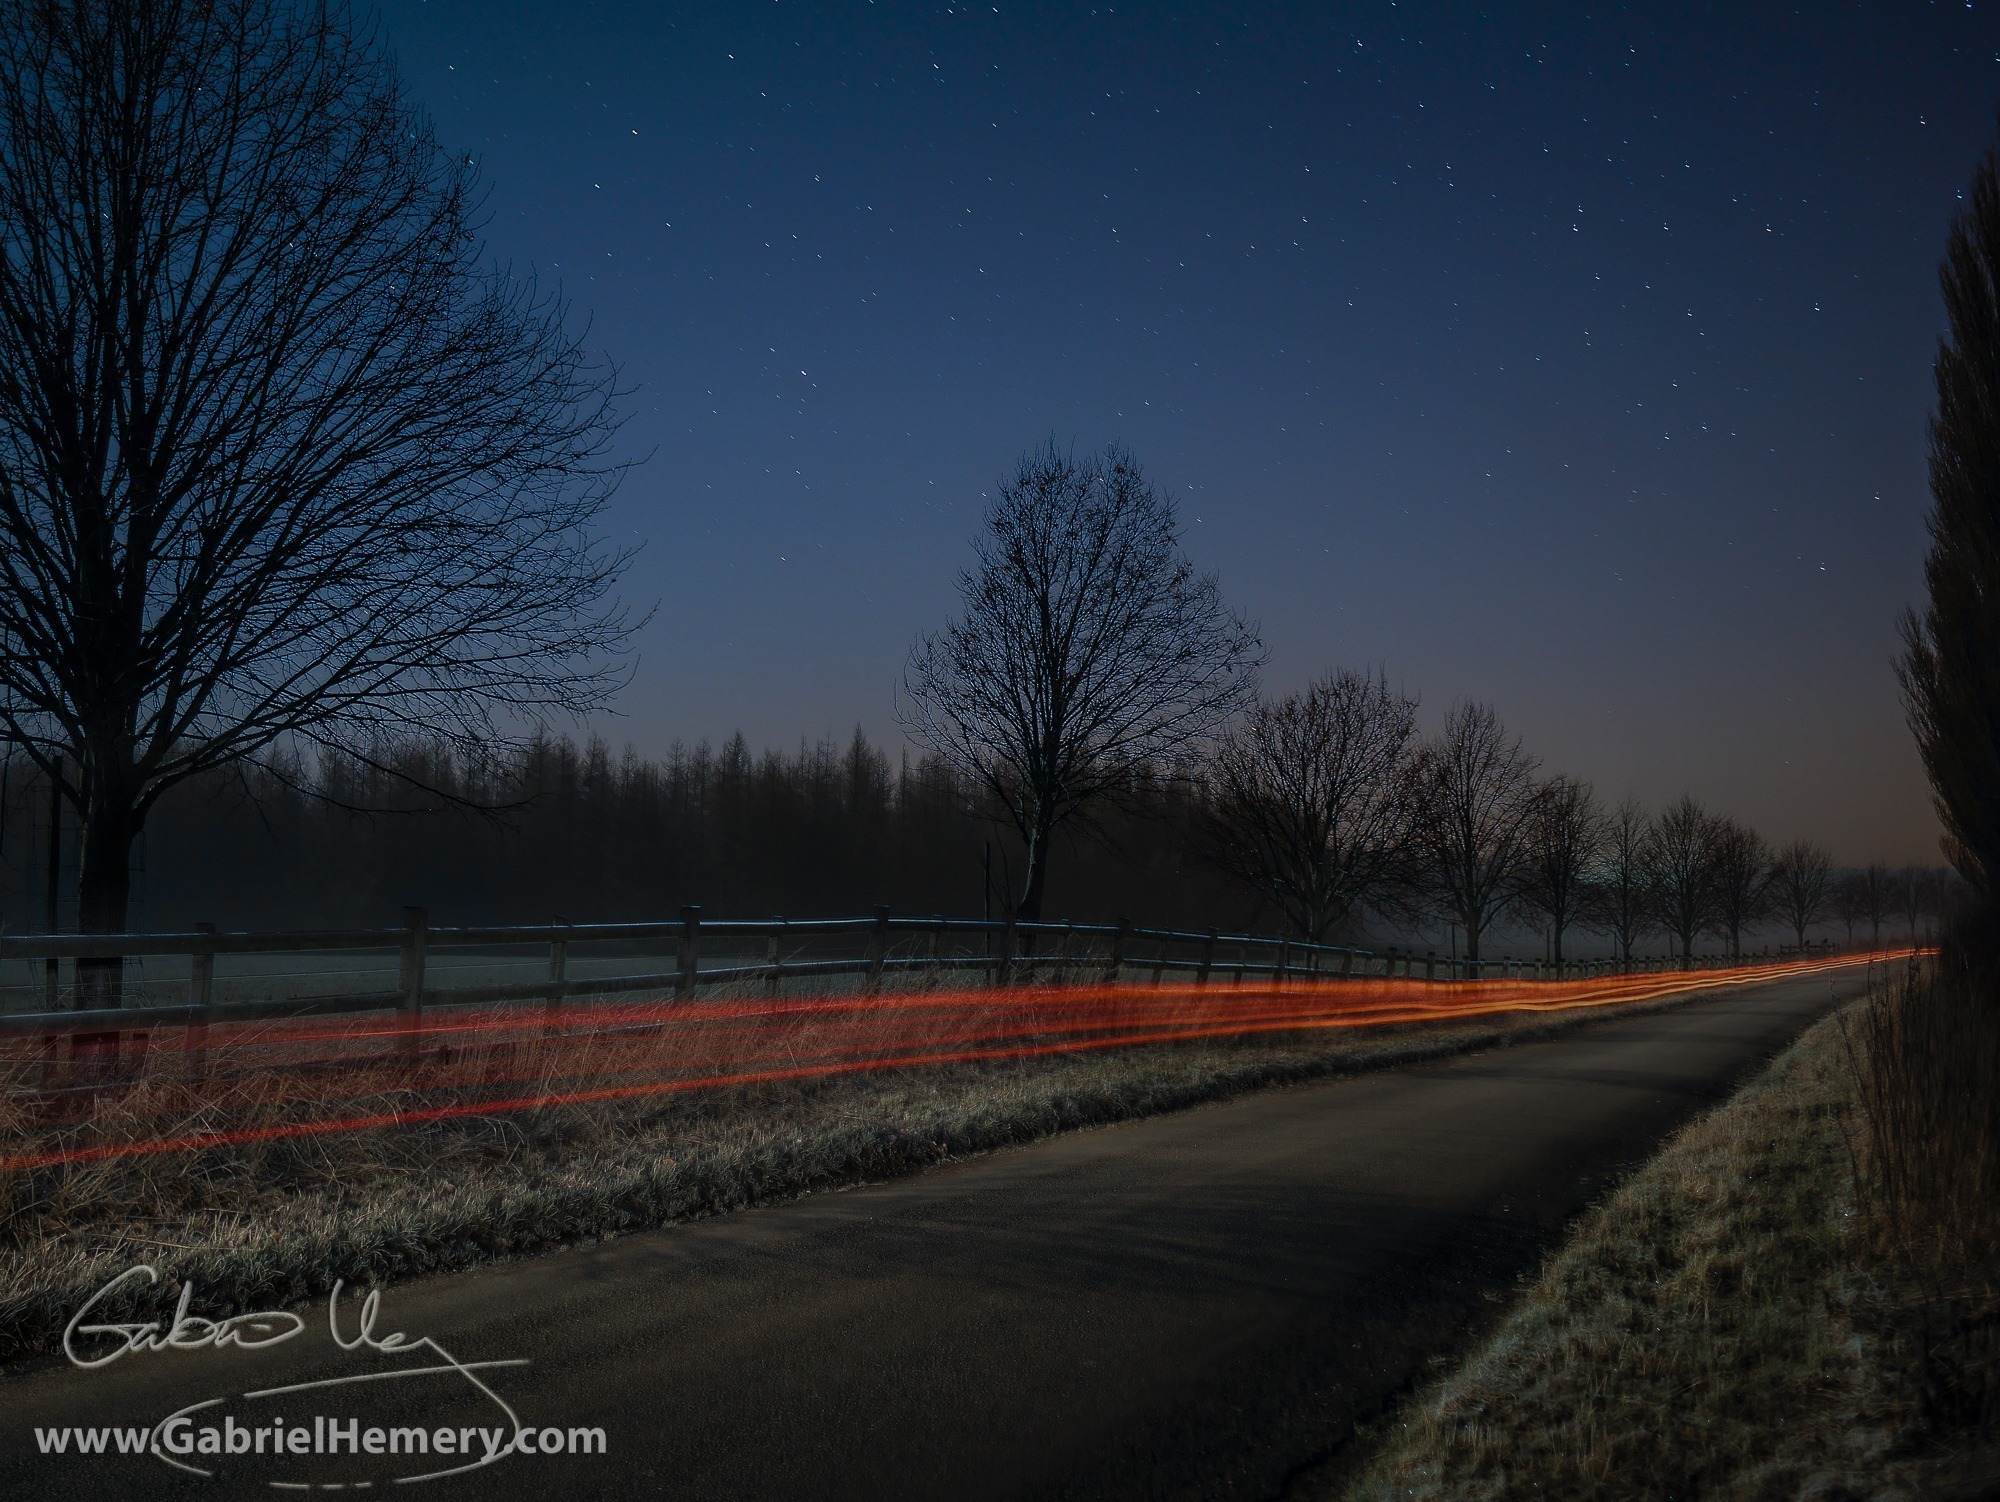
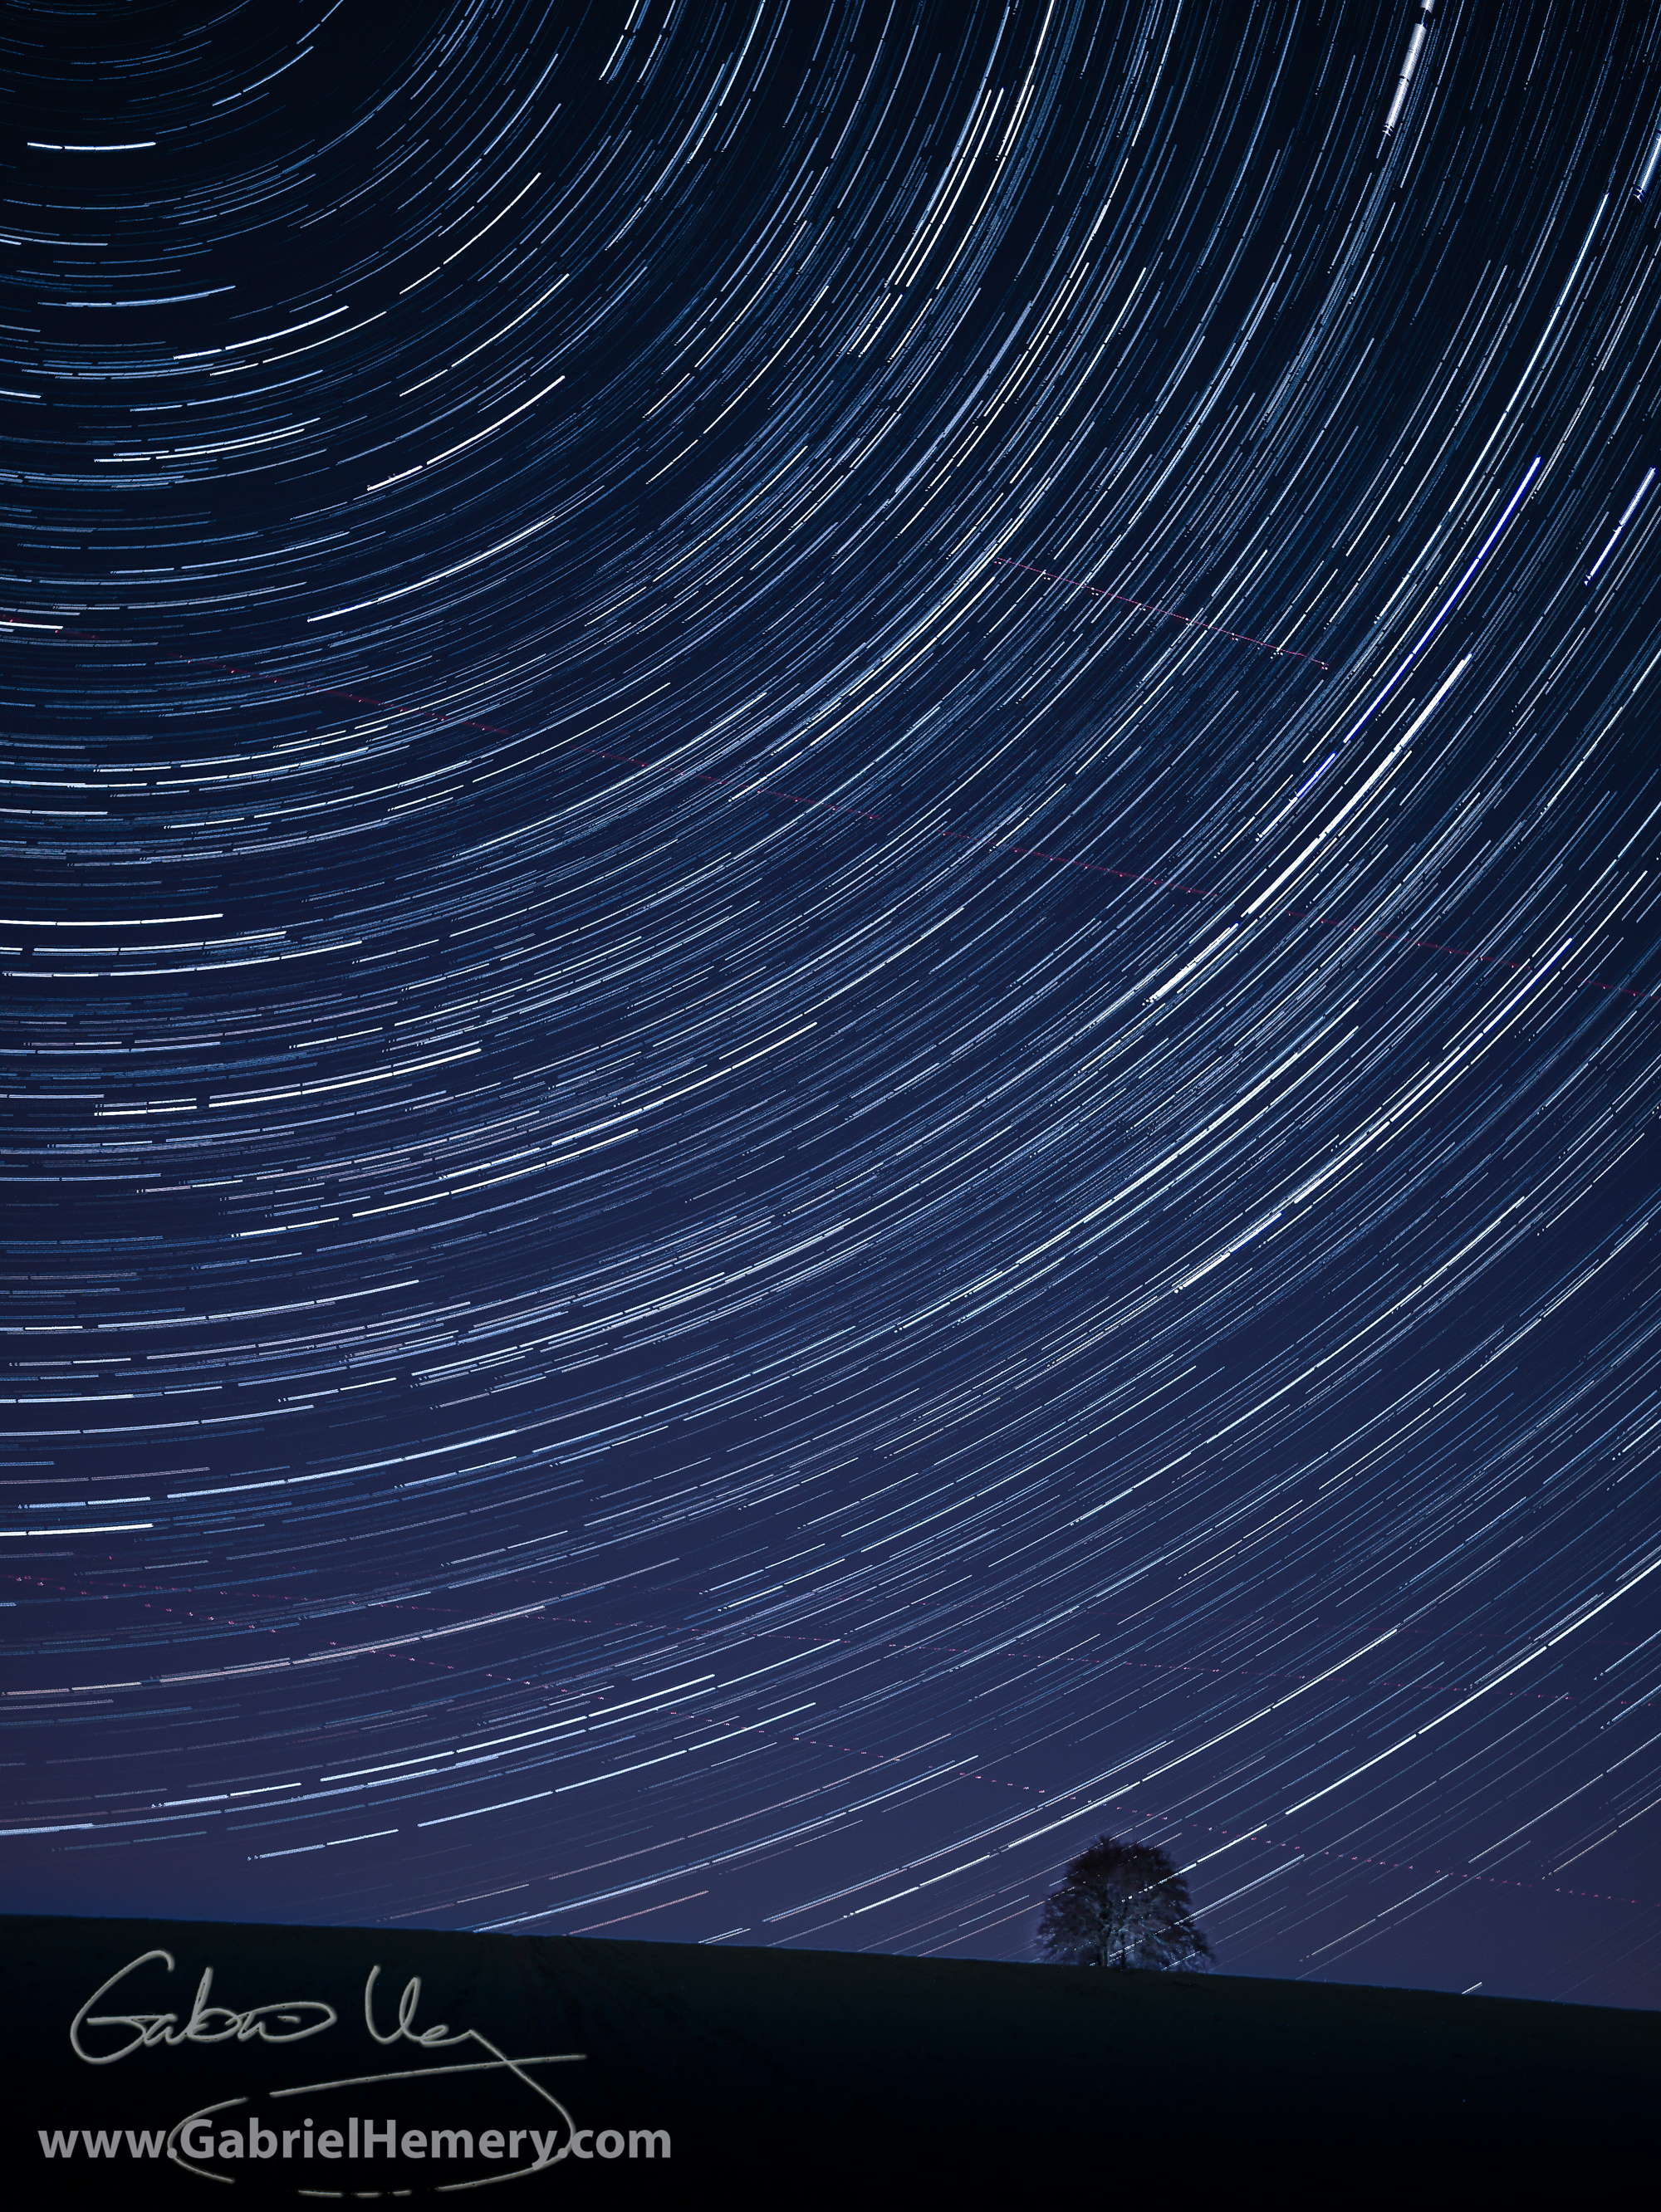
I’ve been enjoying some experimentation with night photography, focussing on my usual subjects of trees. The techniques are new to me and I’ve got lots to learn but nevertheless, I’m pleased enough with progress to share a few recent shots with readers.
Essential equipment for night photography is a camera that allows some creative control over images. Many compact cameras include night sky settings and these can work well. For more creativity however, a camera that allows you set shutter speed, aperture and film sensitivity is preferred. This usually means a DSLR or a micro four thirds (MFT) camera, such as the one I use. A tripod is essential to hold the camera still for long exposures. A shutter release cable or remote control will allow you avoid camera shake when you take the pictures. Most importantly a fully-charged battery and empty memory card are essential pre-trip checks. Make sure you wrap up warm and take a couple of torches: one for seeing where you’re walking, and a tiny penlight to help you see the camera settings.
Part of the fun of night photography is the technical uncertainty in terms of what works and doesn’t. Generally an ISO of 200-800 works best. Any greater then there will be too much noise or pixelation visible in the image, and it will also be smaller in pixel dimensions (meaning you can’t enlarge it quite so much on your wall!). A large aperture will allow as much light to enter the camera as possible, and this is where ‘fast’ lenses come into their own. Any lens with f2.0 or less is a great boon to night photography. It is the subject of shutter speeds where things get more complicated, as the results vary with focal length. If you want to capture stars as single points of light rather than dashes, usually an exposure of about ten seconds or less is necessary. The greater the focal length of a lens the more the star will move during the exposure – e.g. the star will move more with a 400mm than a 200mm lens. Before any reader feels tempted to correct me, note that the star doesn’t move but the Earth does, but it’s easier to envisage the former! A last note on shutter speeds: stars nearest the North Star (Polaris) in the northern hemisphere will ‘move’ less across the frame less than those further away. Finally, turn off autofocus – if the moon is present or a distant lit object, focus manually on it before turning your attention to the nightsky.
Allow your imagination to run free and you are likely to come up with some unusual and stunning images. Even travelling to your chosen destination for the shoot offers possibilities.

For photographing stars a moon-free night is best as the stars will be clearer. Clouds can also spoil plans although sometimes light wispy clouds scudding across a long-exposed image can add dramatic effects. The best locations are those well away from light pollution. Luckily for the tree photographer, many forests offer some of the best locations. Even close to towns and cities, shooting nightskies within a woodland can reduce some light pollution from low on the horizon. In December last year, 1500 km2 of Northumberland, including Kielder Forest, was designed a Dark Sky Park (see below), offering ideal conditions for night photography in the natural environment.

I explained above that exposures longer than about 10-15 seconds result in dashes for stars, rather than single points of light. You can see this effect in the 25sec exposure in the image of the Beech trees and nightsky (click to enlarge). If you wish to exploit this for dramatic effect you can leave the shutter open for long periods, even several hours, to create star trails. An alternative is to take many separate images and stack these together to form a single image. If each image is taken quickly enough following the previous image, then it has the same effect as a long exposure but without some of its disadvantages. For instance, a long exposure could be ruined by a low-flying aircraft, car headlights from a nearby road, or worse still, if your battery dies before the shot is complete the image will not be shared. This is an artform in its own right and one that I’m only just beginning to enjoy. I will save a fuller explanation for another time, perhaps when I have more experience.

There are many inspiring example of night photography available with a simple Google search, and I’ve lots to learn still. I’d love to hear from you if you’re an avid night photographer, and feel free to critique my images.
More of my tree photography and images can be found at www.theTreePhotographer.com
Further reading
International Dark-sky Association
Northumberland Dark Sky Park
StarStax – free software to stack images to create star trails
 This work is licensed under a Creative Commons Attribution- NonCommercial- NoDerivs 3.0 United States License.

Great photos I really like the graphical effects on the last one.
I always love the pictures where you can see the star trails, absolutely amazing!
Love the 2nd photograph, the clump of beech trees, magical.
Thanks Ash